Topic: Team Schedule Tab
- Overview of the Team Schedule section
- Creating and Editing Games
- Creating and Editing Practices
- Creating Recurring Practices
The SCHEDULE tab on the team window displays all the team games and practices. Depending on the user's security level and the settings for the organization, users may or may not be able to:
- edit existing games or practices
- add new games or practices
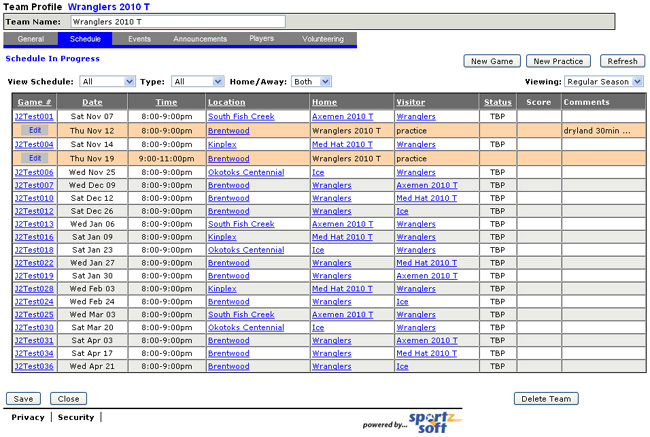
All information entered here will also appear on the team's public website schedule as follows, however, changes you make may not appear for several minutes (up to 20 min).

2. Creating and Editing Games
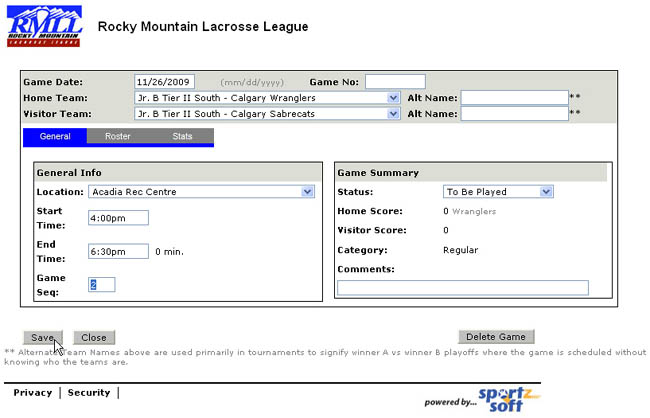
To create a new game, click on the NEW GAME button and fill in the form with the game details. Depending on the security level set for your system account, you may or may not be able to create and/or edit games.
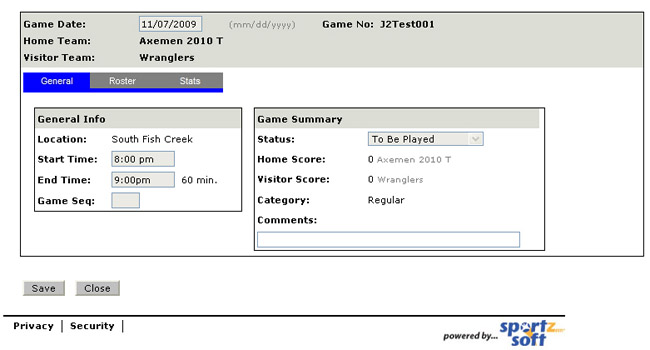
The game will now be listed in the Schedule grid. To view or edit the full game details, click on the Game Number as shown below.

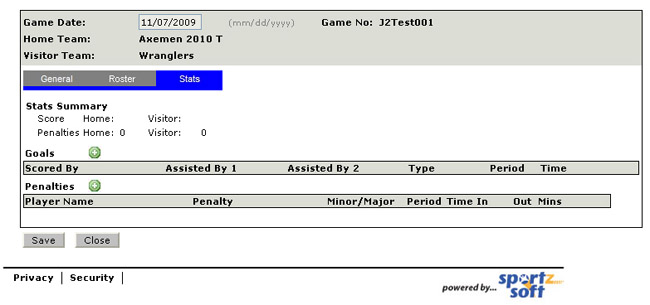
This will bring up the Game Details screen. Once again, based on security levels, you may or may not be able to edit this page. The first tab is the GENERAL tab and contains the game information.
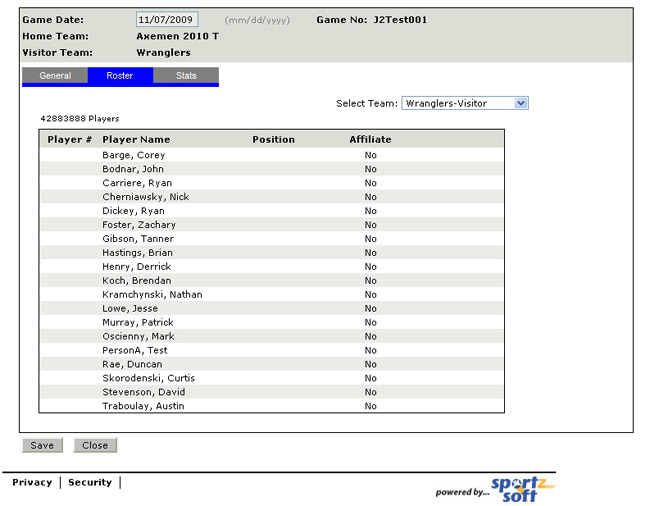
The second tab is the Game ROSTER tab and displays the game rosters for both teams. NOTE - game rosters can differ from team rosters in that you only list the players who are playing in the game on the game roster. You can also add affiliate or call up players to the game roster. You can switch between the two teams rosters by selecting the team from the dropdown list beside the 'Select Team' label.
Game Stats are entered and displayed on the STATS tab. Once again, your level of access will determine whether or not you can edit or just read game stats.
3. Creating and Editing Practices
To create a new practice, click on the NEW PRACTICE button on the Team Schedule screen.
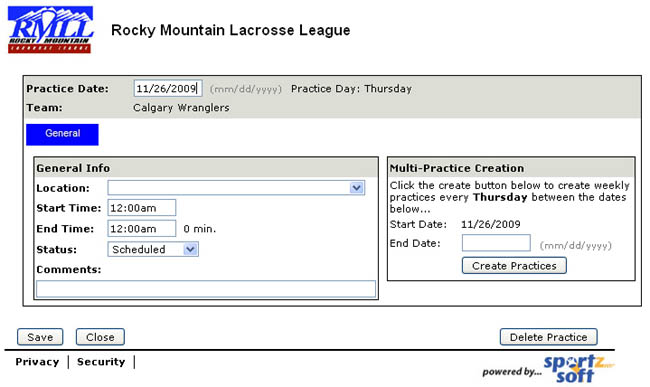
The screen will default to the current date and enter that as the 'Practice Date'. If the date is not correct, change it before proceeding to the other fields. In the example below, we have changed the date to November 27 - the 'Practice Day' label will update once the practice is saved.
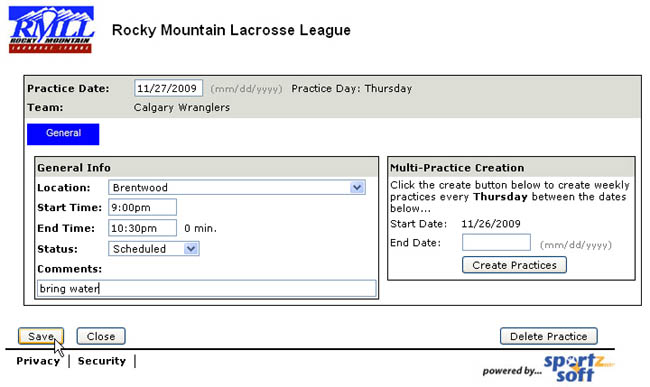
Click SAVE to update the Practice details....you will note two changes in the screen below.
- the "Practice Day" at the top of the screen beside the practice date has changed to 'Friday'
- the "Multi-Practice Creation" box will now allow you to create multiple practices on 'Friday' as well

After you have SAVED the practice, you can click CLOSE and it will appear on the Team Schedule Screen. If it does not appear, click on the REFRESH button.
4. Creating Recurring Practices
To create a recurring practice, keep in mind that you can only create recurring practices for one day of the week at a time. For example, if you have a practice that is every Tuesday, from 9:00pm to 10:30pm, you create the first of these practices, and then use the 'Multi-Practice Creation' tool to create additional weekly practices on the same day, until the end date you specify.
To begin, complete the information for the first practice. In the example below, the first practice is from 9:30-10:30pm on Tuesday, January 12th, 2010. Enter this information and click SAVE.
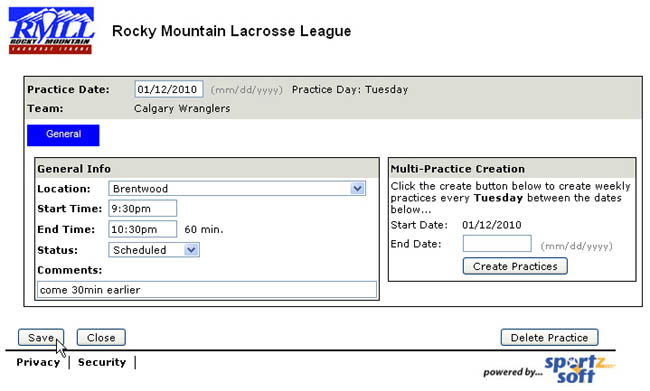
When you have SAVED your first practice, enter an 'End Date' in the 'Multi-Practice Creation' tool and click on CREATE PRACTICES. This will create a weekly practice on the day specified between the start and end dates entered.
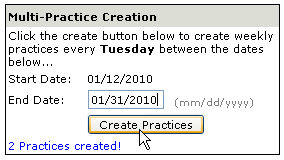
When you use the 'Multi-Practice Creation' tool, it will create a practice for every week between the date of the current practice set, and the end date you enter. If you have extra practices, you may need to delete them after they are created.
To delete any unwanted practices, click on the EDIT button beside the practice you want to delete, and on the Practice Details screen, click on the DELETE PRACTICE button at the bottom of the screen.
